Friday, August 13, 2010

Spiral Pens


Something special happened on Tuesday.  I don't know what it was, but some have called this the best Unconditional Craft Night EVER.  Those people may have also been drinking.  In any case, let me indulge you with the glorious art of of Spiral Pens.  

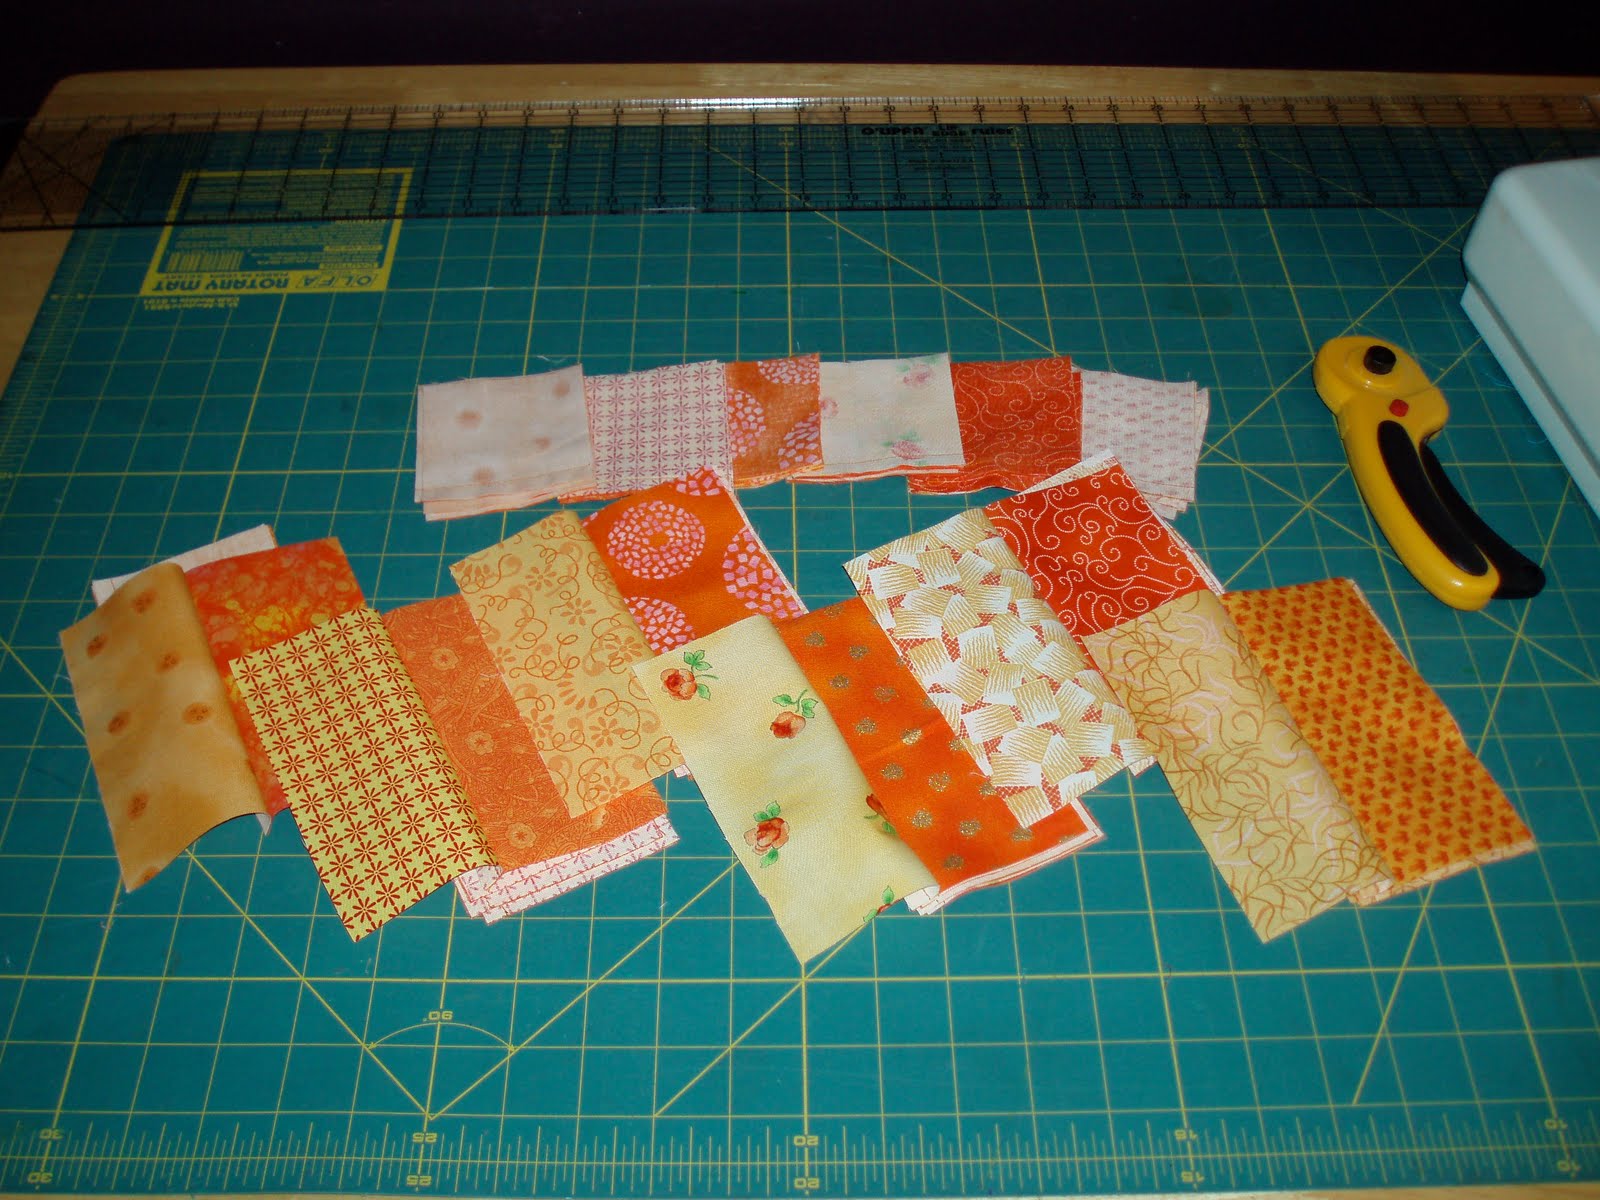
You'll need to choose three contrasting colors of Sculpey or Fimo polymer clay. I like to use one dark color, one light, and one metallic. These first few photos are a dramatic re-enactment, because we were so caught up in the excitment of conditioning the clay on UCN, we didn't take photos. Sometimes you just gotta live, you know?


First, break a chunk of clay off and moosh it down a little into a fat pancake.  Roll it through the pasta machine (aka Clay Conditioning Device, aka High-Tech Molecule Redistributor) on the widest setting.  


(Moving on to a new color, same technique) fold the sheet of clay in half, and crank it through the ringer.  Keep folding and rolling on the same setting until the clay is approximately the same texture as a square of American cheese.  You can repeat this process as many times as you want.  You are only limited by how high you can count.  Once you have a nice square/rectangle, decrease the clay conditioner setting a notch or two.  Do not fold the clay.  Decrease again, roll again, and repeat, until you are at the second or third from the last setting.  Note to crafty cheese lovers: resist the temptation to roll Pub Cheese, Brie Cheese, or even a hearty Gouda through the Clay Conditioning Device.  Unless you've been drinking, and then it's okay.  


Try your best to get the sheets of clay to be the same size and shape.  This is not an exact science, so don't sweat it if you have some crummy edges.  Stack them together like a sandwich, press gently and uniformly so all three layers are sealed together.  Change the clay conditioning machine back to the widest setting, and send all three sheets through.  Cut the crusts off the sandwich, as it were.


Now, roll up your clay sandwich like a tight burrito.  Or sushi maki.  Or a jelly roll, whatever makes you happy.  Using gentle pressure, roll the burrito back and forth, until you have a snake of clay about 1/2" thick.  With a sharp razor ("Safety First" was the motto of this UCN), slice the ragged ends off the snake to reveal a perfect tri-color swirl.     


Slice 1/8" medallions off of the snake.  If you want to be extra crafty, stop slicing once you're about 2/3 of the way through the snake.  Take the remaining 1/3 and roll it into a thinner coil.  Then slice away.  Now you'll have two sizes of spirals to work with!  Celebrate your ingenuity with a cocktail.


Remove the meat of the pen with pliers.  All you need to cook these babies is the outer plastic shell.  We used clear plastic Bic Pens, and they didn't warp at all in the oven.  Working one at a time, press clay spirals all over the pen shell.  You can overlap them, join them tightly together like bricks, switch colors, whatever you please.  Once the pen is covered, you can roll it gently on the tabletop to smooth out the bumps and fingerprints.  Bumpy is a nice look, too.  The most important thing is that the whole pen shell is covered.  Try not to let any clay get in the hole where the ink cartridge will fit back in.  Now's the time to avoid restructuring issues.  


Bake the pens in a preheated 250˚ oven.  This is a little lower temp than recommended on the clay package, it ensures you won't melt the pen.  To keep the designs from cooking unevenly, you might want to suspend them in midair.  You can do this by sticking bamboo skewers in a foil ball and hanging the pens on the skewers, or stick a little clay in a baking dish and stick the skewers in there.   Bake for 15 minutes.  Just enough time to enjoy a frosty beverage.


And here are our final products.  The last step is letting your piece of art cool, and replacing the ink cartridge.  As you can see, we used two different color palettes, and those two eventually got mixed up into new designs.  This was a fun, easy, and cheap craft.  Cheers, Michele and Kristin, again, for all the great pictures!!

Sunday, August 1, 2010

Craft Super Show 2010


Last Friday, I made the drive to Rosemont to go to a little craft experience called Craft Super Show.  All the big names would be there.  Fiskars, JoAnn, Cricut, Lion Brand, and I was sure I would be surrounded by all of 12 other crafters from the area.  I was wrong.  No exaggeration, there were about 1000 people in line in front of me, waiting to get in.  Some of them were dressed up as bugs, some had huge project bags with them.  Some were hosting their own web shows as they walked around.  I tightened the straps of my camo backpack, took a deep breath, and walked in.  


Of all the tables, about half were scrapbooking stations.  I tried scrapbooking once, and I made a valiant effort, but it's really all about the tools.  I don't get it.  It's a lovely endeavor for those who have the means, but I just don't get it!  Anyway, this little card was a Make and Take project for a buck, so I gave it a go.  I stenciled, embossed, and sponge painted the copper card.  Then I made the fabric flower and punched a hole for the brad to hold it in place.  I punched corners in the navy blue card and added some copper paper clips.  I like it.  I still don't get it.


This was a beautiful moment.  I've always wanted to learn how to make this I-cord, and I've seen the knitting bug in stores, but I didn't know how to use him.  The lady from Lion Brand taught me, and I gave her a tip on how to get the yarn unstuck from inside the bug's body (just a little puff of air sends the yarn right through).  And when I was done, she let me keep the bug!  Doesn't take much to send me over the moon at Craft Shows.


If An Elephant Can Paint, the paint-your-own-pottery studio had ornaments for Make and Take.  I covered it with a wax paint, then burnished it until it was shiny.  I wrote lyrics from love songs along the edge, and added puffy paint hearts in the middle.  The puffy paint fell off when it was dry, but I wasn't upset.  I'd like another go at this project, using just wax paint.  


In an effort to try new things, and get over my problem with scrapbooking, I went to a die cut station making felt brooches.  I rolled out the paper and felt, and sewed a button on one side, and a pin on the other.  I really like this pin.  It took me about four times as long to complete this project than the veterans at the table.  I broke a sweat, and they were looking at me like I was nuts.  


I signed up for a potholder class at 1:45, knowing that Wendy Russell, the host of She's Crafty, would be holding a craft competition at 2pm.  I had a really hard time with the potholder, and I think the cranky ladies teaching me wanted to go to lunch or something.  Maybe they'd just never seen someone accidentally sew over a pin, I don't know.  But I sat there for a good half hour, struggling to finish, and I missed my opportunity to see Wendy.  I finally finished the potholder, and as grumpy as I was, I did learn a couple things.  I started to leave pushing through the hundreds of crafters in my way, knowing Wendy wouldn't be back until 4pm.  I didn't care about waiting.  I was done.  

Then I couldn't find the exit.  But I did find sloppy joes.  I ate lunch, got an ice cream cone, and with renewed interest, walked around for awhile, just looking about.  I spied Crafty Chica and the lady who hosts Knit and Crochet Today.  Maybe Wendy was walking around?  It was 3:15, and I thought I'd just hang out with the throng, waiting for Wendy to make an Elvis-like entrance.  Will she charge me $20 or $25 for an autograph, I thought.  

I found her station, and there she was.  Setting up a table.  No one was camped out in sleeping bags.  There was no one at all.  I fumbled through my bag, looking for the... ahem... Craft Night "party hats" that were inspired by her show.  She was about to walk back into her tent, when I exclaimed, "Wendy Russell will you sign my tassels?!"  Wendy was a very good sport, laughed heartily, and happily autographed both tassels.  She had her assistant take pictures with her camera and mine.  She was very nice.  When it came time for me to give her one of my clever business cards, my backpack zipper jammed.  Mercilously.  I thought I would have to grab a Fiskars and do open pocket surgery right there.  But she remembered my name, and hopefully won't forget Tassel Girl.  


Also made at the show were a decoupaged frame and a duct tape wallet with credit card pockets.  I got lots of great new ideas, and had fun by myself.  

Sunday, July 25, 2010

Bento Box Quilt

I'm starting a new quilt for a friend who likes the color orange.  And judging from her Facebook photos, she likes bento boxes too.  This blog entry is a covert op until the project is done and shipped.  I'm betting I can finish it in 2 weeks. 

6/29 -  The pattern is called Bento Box, and here is the link to the pattern.  I think I will do a 3 x 4 square blanket.  That will make it roughly 5' x 4'.


6/30 - Tomorrow I will iron the hemmed strips and I'll cut the magical part A pieces.  Taking it slow, in manageable pieces.


7/1 - 3 days.  12 fabrics.  12 hems.  48 cuts.  1 mistake.  15 minutes I missed of the Today Show, fixing it this morning.  Not too bad.


7/2 - Last night, after I came home from Stitch 'n Bitch, I looked at my table of fabrics and sighed.  It was too late to make good on my personal pledge to work on the quilt every night until it was done.  Marky consoled me by taking a look at my work.  "Let's see this quilt," I think his words were.  Being careful not to touch the diagonal arrangement I'd displayed on the dining room table, he then said, "these are really nice colors, Breezy."  Emphasis on nice.   At that moment, I saw that he was only looking at the wrong sides of the fabrics.  When I began opening the hemmed strips of fabric, he did his best not to react verbally.  


And here's a preliminary layout of one box:


7/3 - Rehearsal last night went late, so I used some morning time to pin the inner part of the Bento Boxes together.  It's really just two rectangles, not a little square and an "L" shape.  Deceptively simple!


7/4 - Even with a 12-hour gig, I did a little work on the quilt. And found a way to make 6 mistakes. I'm too embarassed to talk about it, but I will say there were 6 seams ripped. That's a total of 7 mistakes. I need to not only focus on my achievements, but also remember to plan twice, sew once.


7/5 - Woke up early and did some pinning.  Also went to Starved Rock to see the mighty Acro Cats.  Also known as Circus Cats.  Also known as Rock Cats.  They really played instruments.


7/7 - I did zero work on the quilt last night.  Rather, I hosted Unconditional Craft Night with Shrinky Dink Rings.  Got back to work today, sewing and ironing each quarter block.  


7/8 - I sewed two quarters together, and the layout is looking pretty good.


7/9 - Okay, Friday crept up on me pretty swiftly.  Was it only last Wednesday my girlfriends were laughing at me for boasting that I could finish a quilt in two weeks?  My fortnight is almost up, and they're about to have that proverbial last laugh.  My six blocks are now all sewn together, and I thought I'd show a mistake I made.  I've been making so many.  I call the above "Oopsie," and "Aah."

7/10 - So, JoAnn is not the be-all end-all.  Hancock (my go-to fabric center) closes before I get off work on Saturdays.  Fine.  I was sure I could find some sort of orange calico for the back of the quilt at my favorite Craft Superstore. Green Bay Packers Fleece.  Purple Lamé.  Dora The Explora flannel.  No quilt solids or patterns?  I thought for a moment about backing this badboy with denim, but I'm really looking for something else.  So my night was a bit of a waste.  I did get all my measurements down for a plan, though.  I suppose the blueprints are worth showing.  


On the left, my preliminary plan, with 6 blocks, 3 inches of fabric between.  In the bottom corner, I figured I could cut three long 3" strips off a two-yard piece, then cut the leftover in half, turn each piece, and sew them back together to make a continuous back.  Oh, yeah, and make sure to get a few short 3" strips to place horizontally between blocks.  Ehn.  On the right, I pondered reducing the strips down to 2", making it possible to cut strips and get a non-bisected piece for the backing from a 45" piece of fabric?  Double ehn.  I slept on it.  

I woke in the night with a plan.  That, and I think the A/C shut off the power.  Anyway, all I really need is one long strip for the center.  I can make an extra wide/long backing and fold the frame around to the front, right?  The short, horizontal pieces will be easy to come by.  I think all I need is 2 yards of fabric and a nice big floor. 


7/11 - Crunch Time.  Here are the blocks, and a potential layout.  I keep changing my mind about the order.  It will happen how it happens.


I cut and sewed three short vertical strips between blocks, then two long horizontal strips with the new backing fabric.  Shown are batting with measured and ironed backing fabric.  


Close-up of a pinned block.  I put a safety pin in the middle, because I never know which direction I'll be facing when it's time to quilt the middle parts.  I'll stitch a cross in each block, and that should be enough.


Stitching is done.  Roger approves.  I checked the calendar to see if I made my two-week deadline, and I'm two days early.  Now to mail it off.   I don't think I can wait to see her in person in October!

Friday, July 9, 2010

Shrinky Dink Rings: A Tutorial

Wonderseptuplet Powers ACTIVATE!


In order to create successful Shrinky Dink Rings, make sure you have plenty of generic crackers, adult beverages with umbrella straws, and Low Fat Pub Cheese.  You might also want to have on hand shrink paper, scissors, rulers, a rotary cutter with a self-healing board, permanent markers, various and sundry items that are roughly the diameter of your finger (chapstick tubes, highlighters, etc), and hole punchers... that is, if you ever get to the crafting part of Unconditional Craft Night.  I'd like to send a quick shout out to The Commish for her endeavors as photographer and Pub Cheese handler--Thanks KB!


Cut a strip about 5 1/2" x 1" for an average size ring.  You should really bake a tester ring to see if the length is right for you.  If it's a little too short, you can manage with some empty space in the back, but if it's too long, overlap in the back isn't very comfortable to wear.  As far as the width, you can go as thin as 1/2" or as thick as 1 1/2" comfortably. 

Decorate your ring with permanent markers before baking.  Keep in mind that the colors become more concentrated when they shrink.  By that same token, your design lines with be very tiny and intricate when they shrink down.  Play with size!  If you want to add a charm to the ring, be sure to punch a hole where you want it.


Preheat the oven to 400 degrees.  Line a cookie sheet with two brown paper lunch bags:  one to line the sheet, one to place on top of the shrink paper to keep it from curling up.  So... yeah... do that.  Bake for 5-6 minutes, grab a hot pad and get ready to roll. 


The plastic will be hot and malleable for about 10 seconds, so you have to be confident and work quickly.  This is where that aforementioned test ring comes in handy.  Using your finger-sized chapstick tube (or whatever works for you), wrap the hot plastic around the tube and hold tightly with the hot pad.  If you're feeling ballsy, you can grab that plastic out of the oven with your bare fingers.  You can be a little more aggressive and perfecting this way.  I still think you should have a hot pad handy, because once you have the ring placed perfectly on your cylinder, you should hold it there for a bit to cure.  It's too hot to handle for more than a second or two. 

It takes some practice, and your first ring will probably turn out poorly.  If you bomb and your perfectly decorated ring is all wonky, though, you can fix it.  Just pop it back in the oven for a minute or two and it should soften back up. 


And here's what your final product should look like.  Most importantly, have fun.  And whatever you come up with, it's beautiful, and you're a good crafter.  You can do it!

Saturday, June 19, 2010

If Crafting's Wrong, I Don't Wanna Be Right


Is this the same high Spiderman fans have after Comicon? I don't know, but I feel pretty amazing after Chicago Craft Social.  A raffle, snack table, and the promise of Chipotle chips and salsa upon exit.  There were about 15 tables, and I wish I could've stayed for two days.  Here's what I got for my $20.  

First, I joined Iris from Polyform as she walked our double table through Mokume Madness.  Basically, you stack up several thin sheets of brightly colored Sculpey clay, beat it up with tools, then shave thin slices off the top.  Those shaved slices (due to the abrasions, cuts, and dents) display fantastic patterns in all those colors you stacked up.  We used those funkadelic clay slices to fill bracelet, necklace, and earring blanks.  Not only had Iris already prepared our clay for us, she had about a dozen tools, extra clay, and boxes for us to take our completed work home.

It was just like being at Unconditional Craft Night.  She praised our work, whether we were fast, slow, sloppy, or exacting in our jewelry making.  I'm so glad I brought my big backpack, otherwise I don't know how I would've carried all the free swag.  If you want to try it on your own, here's how to do Mokume Gane.  I can't wait to craft more with my boatload of fresh clays.  Thank you Polyform!!


My next move was inevitable.  I couldn't resist the gravitational pull of Arcadia Knitting's table of yarn cakes.  Arcadia is easily my favorite Chicago LYS.  Sharon lead the team in Flip Flop Fun, providing all the yarn and flip flops.  Armed with my trusty size 8 needles and an upholstery needle, I dove in. 
First I cast on 60 stitches with this funky three-yarn blend.  I worked about 10 rows of garter stitch, then I bound it off.  The piece was approximately 12"x2".  I left a tail of twice the length of the piece, then used the upholstery needle to whip stitch the piece around the flip flop straps.  Before starting to stitch, I tied a scrap of yarn at the midway point of the swatch.  This project obviously doesn't demand exacting measurements, but I felt more in control marking the midpoint, Eyelash or fuzzy yarn is probably the best idea for this project, seeing as it's more forgiving in the stitching department.  What I'm saying is, this should be a low-stress project, and in the words of Tim Gunn, just "make it work."

The knitting makes an otherwise cheap, uncomfortable pair of flip flops very comfy and fun. 

To the right is a picture of everything I came away with.  Not pictured are all the yummy snacks and camaraderie we all enjoyed.  I'm so glad I braved the threat of thunderstorms.  I'll definitely come again.